Do It Yourself Tutorials
Tuesday, September 12, 2023
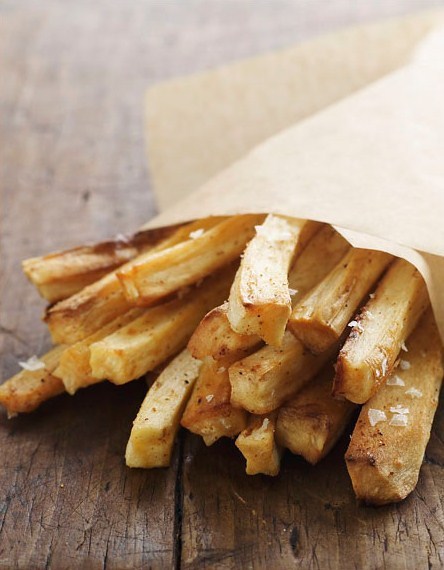
Fries
#fries
Recipe by jpellgen
#dessert, #vanilla, #food photography, #water ice, #food porn
recipe
#recipe
Sunday, September 10, 2023
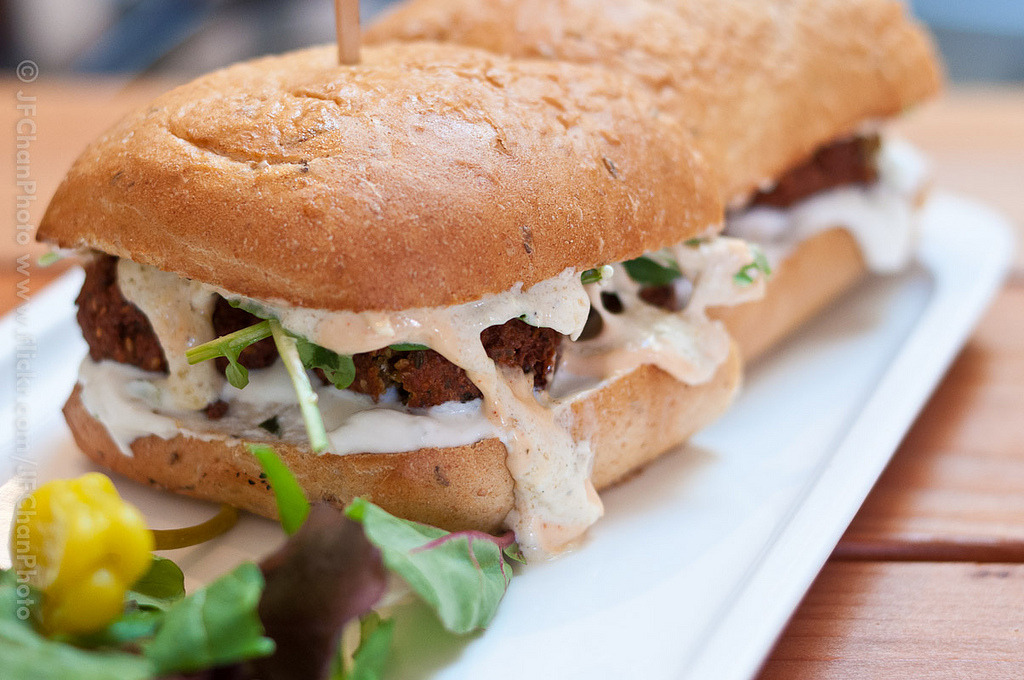
Day 166: Falafel on Rye by JFChanPhoto
#food, #burger
Raspberry & Chocolate Salted Brownie Sundaes
#Food Porno
Saturday, September 9, 2023
by hokipoki
#by, #hokipoki
Thursday, September 7, 2023
Cupcake, Chocolate
#cupcake, #chocolate
Older Posts
Home
Subscribe to:
Posts (Atom)